This post may contain affiliate links.
Two types of cookies give this Cookie Jar Icebox Cake its beautiful layers and fun texture! Just four ingredients and a few minutes of prep is all it takes!

I’m a big fan of Oreos, as you can probably tell by my large selection of Oreo cookie desserts on the blog! But have you ever had a “cookie jar” dessert….like with a variety of cookies and/or brownies?! SOOOO good.
This recipe takes that concept and puts it into a super simple to make no-bake dessert! Why is it called an “icebox cake?” Way back when, people called a refrigerator an “icebox” and since this cake goes into the fridge instead of an oven, it just makes sense! 🙂

Ingredients Needed
- Oreo Cookies – You can use the original or the Oreo “thins.” I don’t recommend the double-stuf version as the filling hardens and is more difficult to cut through.
- Chips Ahoy Cookies – I use the Original.
- Whipped Topping – Cool Whip is a great option for convenience or you can use 3 cups of a homemade stabilized whipped cream.
- Cream Cheese – You’ll need half of an 8-ounce brick of cream cheese; you can use the full-fat version or can use the 1/3 less fat neufchâtel cream cheese.
How to Make Icebox Cake
Start by preparing a loaf pan by lining it with plastic wrap. Push the plastic wrap into the corners and make sure you have enough hanging over the edge to pull it out when ready to enjoy. This makes for easy clean-up, too!

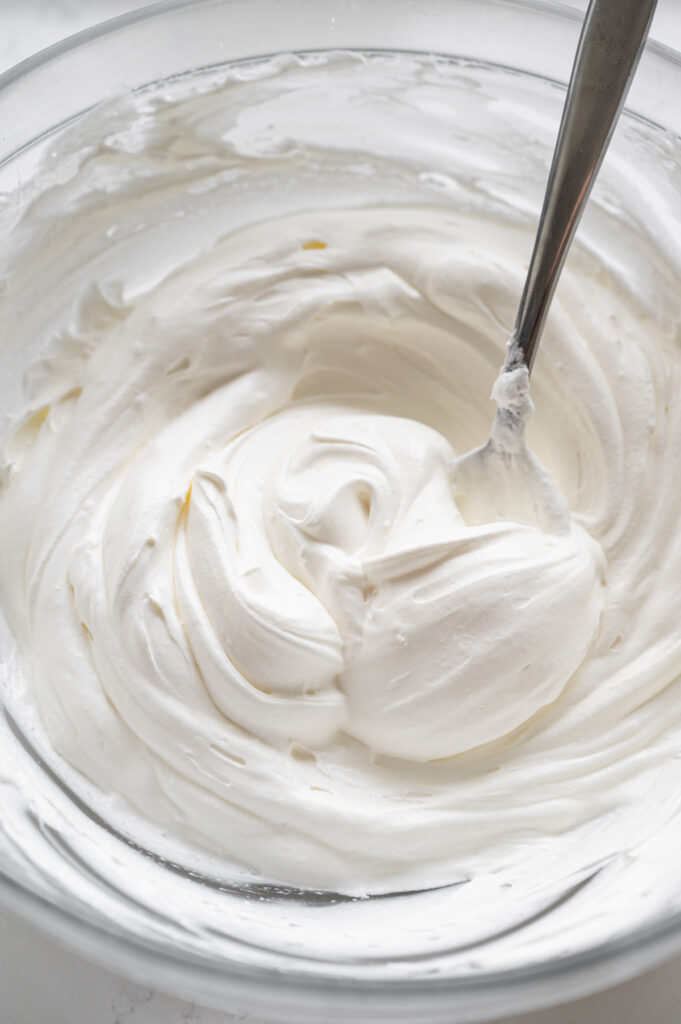
Then, make the filling. It’s a super simple combination of cream cheese and whipped topping. Make sure the cream cheese is nice and soft before making this to help ensure you don’t end up with chunks of cream cheese in the filling.


To assemble the dessert, you’ll start by adding about 2/3 cup of the filling into the bottom of the lined loaf pan. Use a spoon to spread it all the way to the corners.
Then, add a layer of Oreo cookies. Then another layer of filling, about 1/2 cup, spreading all the way to the edges of the pan.


Repeat this with the Chips Ahoy cookies, then more Oreos and one last layer of Chips Ahoy cookies. Finish it up with the remaining filling. You should have a total of 4 layers of cookies (2 Oreo layers and 2 Chips Ahoy).
Use an additional piece of plastic wrap to cover the dessert. Refrigerate for at least 8 hours.

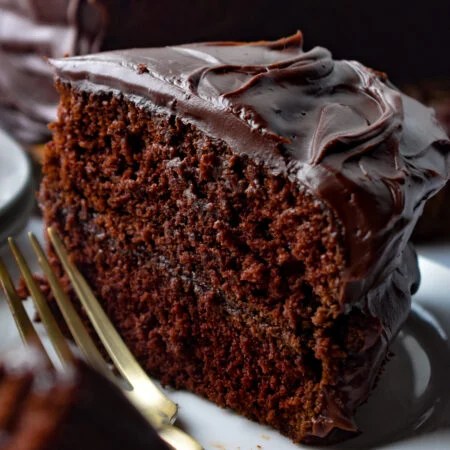
Remove the cake from the loaf pan and transfer onto a serving platter. Top with chocolate ganache and/or a few crushed up cookies. Cut into slices and enjoy!
IMPORTANT! Be sure to give this icebox cake plenty of time to chill in the fridge – I recommend at least 8 hours. This helps the cookies soften and the filing firm up a bit to give you those beautiful, sliceable layers!
Storing Leftovers
Store leftover icebox cake in an airtight container in the fridge. It’ll last up to 5 days and the cookies will soften more and more as it sets!

Other No Bake Desserts You’ll Love
- No Bake Oreo Pie
- Banana Pudding Dessert
- Pistachio Pie
- Dirt Cups
- Blueberry Cream Cheese Pie
- Banana Cream Pie

Cookie Jar Icebox Cake
Equipment
- 1 Loaf Pan (8×4)
Ingredients
- 4 ounces cream cheese softened
- 1 8-ounce tub whipped topping
- 20 Oreo cookies
- 16 Chips Ahoy cookies
- Chocolate ganache and/or additional cookies for garnish optional
Instructions
Make the Filling
- Stir the softened cream cheese until smooth.
- Add about 1/4 of the whipped topping and stir until combined. Add the rest of the whipped topping and stir until smooth.
- Line an 8×4 inch loaf pan with plastic wrap, making sure to press it into the corners and edges of the pan.
Assemble the Cake
- Spread about 2/3 cup of the filling into the bottom of the lined loaf pan.
- Arrange 8-10 Oreo cookies over the filling in an even layer.
- Spread about 1/2 cup of the filling on the cookies and arrange 6-8 Chips Ahoy cookies on top.
- Repeat with the Oreo cookies, filling, Chips Ahoy cookies and the remaining filling.
- Cover with plastic wrap and refrigerate for at least 8 hours.
Garnish and Serve
- When ready to serve, remove from the loaf pan and remove the plastic wrap.
- Top with chocolate ganache (see details in the notes below) and additional cookie crumbs.
- Cut into slices and serve!