
This post may contain affiliate links.
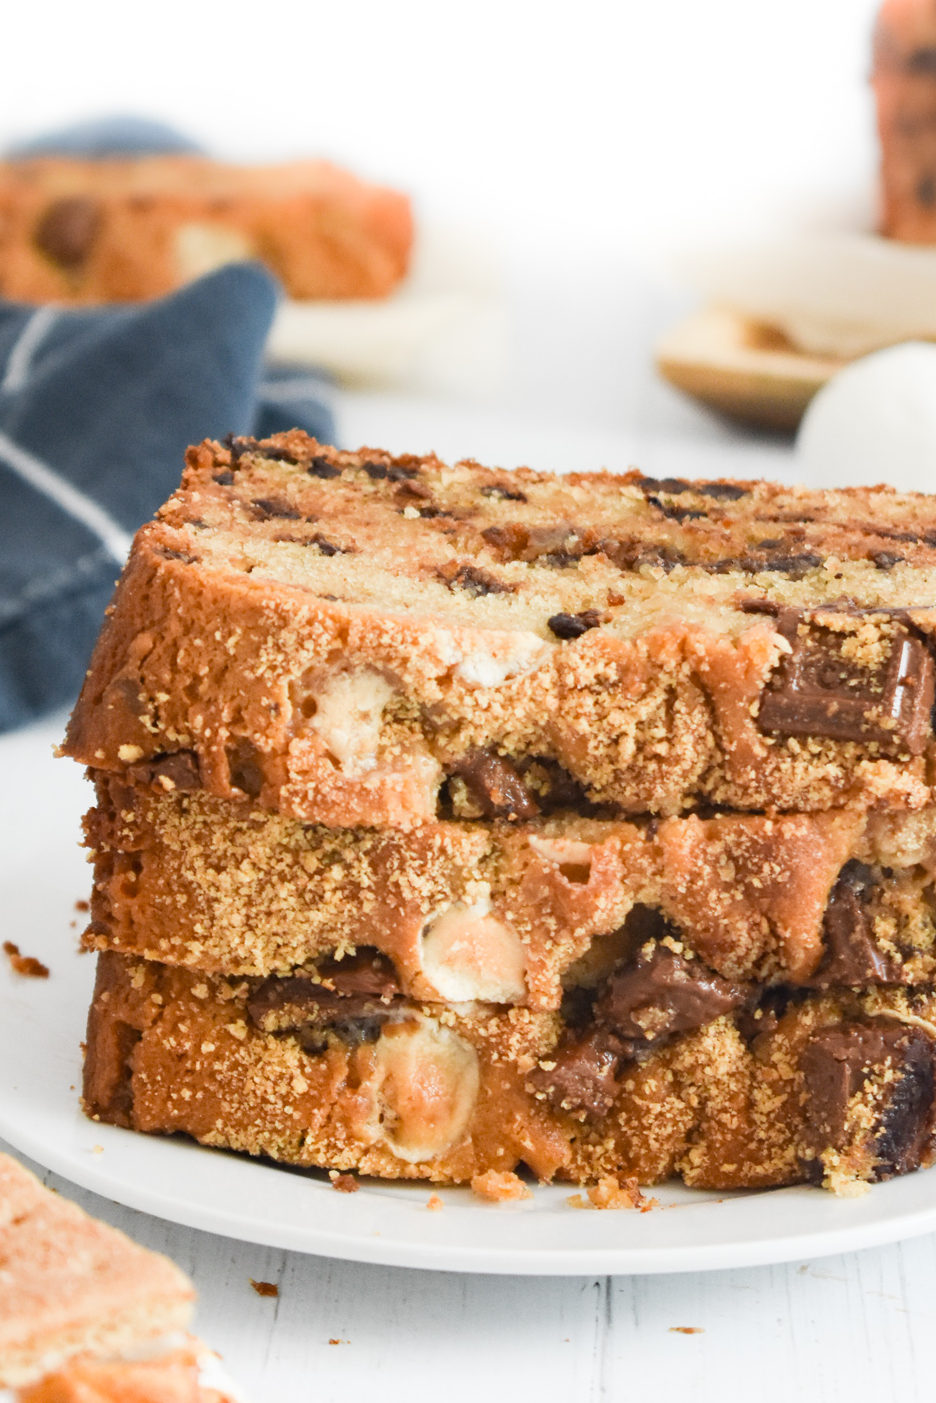
S’mores Bread brings the flavors of an ooey gooey campfire s’mores into a moist quick bread. This bread will be devoured at any breakfast, brunch or afternoon snack!

Some of my favorite memories of my childhood happened while camping. There’s just something about being unplugged, away from home and immersed in the great outdoors that makes me happy.
We always rode bikes as a family, went swimming, tossed around the football and finished the evenings around the campfire. And let’s be honest….no campfire is complete without a perfectly cooked marshmallow and s’mores!
We have yet to take the girls camping. With an (almost) 3 year old and a 6 month old, we’re thinking it’ll be more fun in a few years when they can really enjoy it. However, I promise we aren’t depriving them of s’mores!! I love being around the campfire, but when the weather isn’t as ideal, my No Bake S’mores Bars or this new S’mores Bread is *almost* just as good! 🙂

What ingredients do you need to make S’mores Bread?
Most of the ingredients needed are typically baking ingredients you’d have at home. However, there are a couple special ingredients you’ll need to make this bread “s’mores” flavored!! I bet you can guess what they are….
- “Jet-Puffed Mallow Bits” or mini marshmallows: I prefer to use the Jet-Puffed Mallow Bits (like these) but regular mini marshmallows work too!
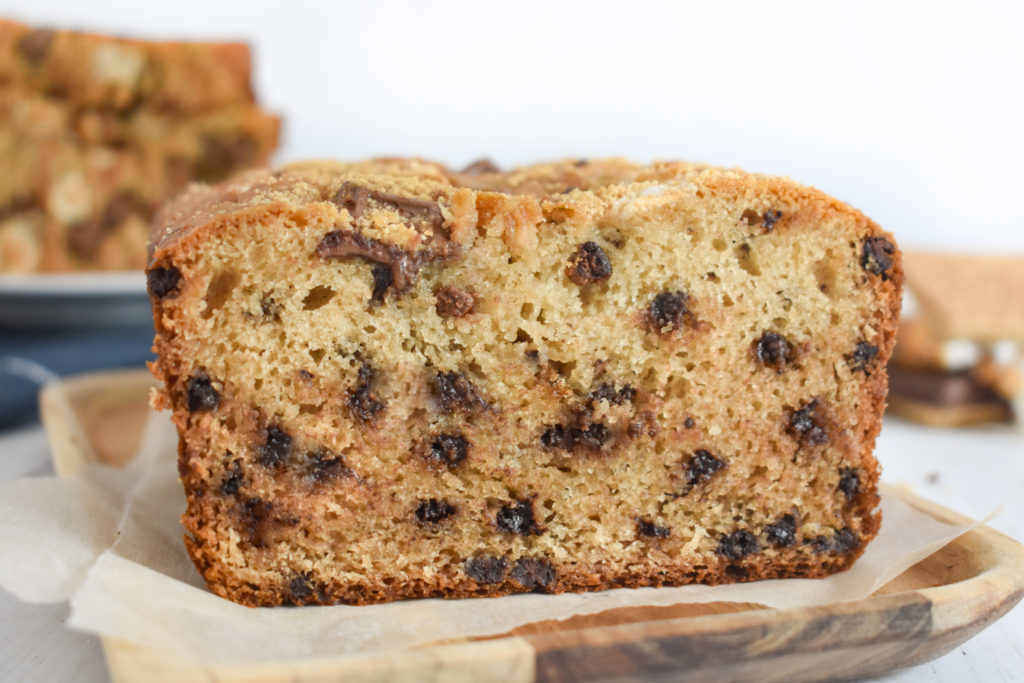
- Mini Chocolate Chips: I like to use mini chips as they disperse better than big chips and you always get a few in each bite!
- Graham Crackers: A s’mores staple! You’ll pulverize the graham crackers before using them as a “flour.”
- Honey: Why honey? First off, I think it helps bring out the flavor of the graham crackers. It also helps keep the bread super moist!
- Sour Cream: Adds moistness and the acidity activates the baking soda.
- Hershey’s Chocolate Bar: Because it looks pretty on top! 🙂 Additional chocolate chips would work great too!
- Typical baking ingredients: Flour, baking powder, baking soda, salt and butter, brown sugar, eggs and vanilla.
Tips for making a delicious quick bread
Quick breads are typically pretty simple to put together, however, there are a few important things that will help give optimal results.
- First off, read through and follow the instructions so you’re adding ingredients in the correct order.
- Prepare the pan before starting. I prefer using a light-colored tin or glass bread pan. (The dark pans tend to get the edges too dark in my experience.) Line with parchment paper for super easy removal.
- Next, when you mix in the dry ingredients, only stir until the ingredients are incorporated. If you over-stir a quick bread/muffin batter, the gluten has more time to develop and will result in a tougher end product.
- Make sure your oven rack is close to the center (not too high up or too low). This allows the oven heat to circulate and heat the bread evenly. If your oven tends to cook unevenly, I’d recommend turning the bread pan around after about 30 minutes in the oven.
- Don’t over-bake the bread. I recommend checking it at about 40 minutes, and go from there. Once a toothpick comes out clean (a few moist crumbs are fine), it’s ready to come out of the oven.
- When the bread is done, let it cool (in the pan) on a baking rack. Let it cool for 20-30 minutes, then remove from the pan.
- Let the bread cool completely for easier slicing.
How long does a quick bread last?
In our house? Not long. haha! But in all honesty, it really depends on what kind of quick bread you’re making. My Cranberry Apple Bread, for example, won’t last more than 3 days on the counter because the apples and cranberries have so much moisture.
This S’mores Bread will last 3-4 days on the counter, but can certainly be frozen! To freeze, you’ll want to be sure to put the bread in a freezer bag and remove as much air as possible before closing. It’ll last a few months in the freezer.
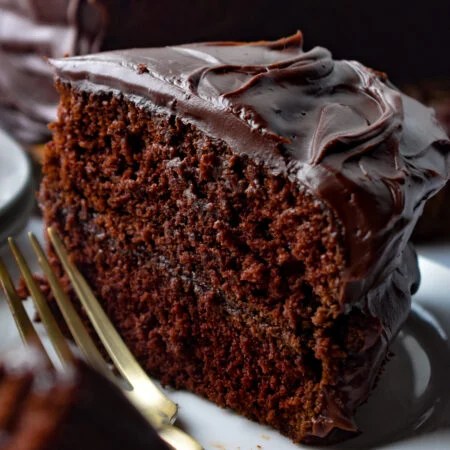
Other Bread Recipes We Love

S’mores Bread
Ingredients
- 1 1/4 cups flour
- 3/4 cup fine graham cracker crumbs + additional for topping
- 1/2 teaspoon baking powder
- 1/2 teaspoon baking soda
- 1/2 teaspoon salt
- 1/2 cup butter softened
- 1/2 cup brown sugar
- 1/4 cup honey
- 2 eggs
- 1 teaspoon vanilla
- 1 cup sour cream
- 3/4 cup mini chocolate chips + additional for topping
- 1/2 cup mini marshmallows + additional for topping
- 1 1.55-ounce Hershey's chocolate bar coarsely chopped
Instructions
- Preheat oven to 350°F and line a loaf pan (8 1/2" x 4 1/2") with parchment paper.
- In a large bowl, combine the flour, graham cracker crumbs, powder, soda and salt; set aside.
- In the bowl of a stand mixer, beat the butter and brown sugar until light and fluffy.
- Mix in the honey, eggs, vanilla and sour cream.
- Then, add the bowl of dry ingredients. Mix until combined.
- Fold in the chocolate chips and marshmallows then pour into the prepared loaf pan.
- Bake for 50-60 minutes or until a toothpick comes out clean. (A few moist crumbs are fine)
- Let cool completely before slicing.


Just found this and giving it a try. I’ve got a couple of quick questions. The list of ingredients mentions a Hershey’s chocolate bar coarsely chopped, but I didn’t see in the instructions where that gets added. Is it added in with the mini chocolate chips and the marshmallows? Also, the list mentions additional mini chocolate chips and marshmallows for topping, but the instructions didn’t mention when to put those on. Do those go on before or after being in the oven?
Thanks!
Could I make this in a Bundt pan?
Hello! I haven’t tried making it in a Bundt pan, so I’m not sure. If you try, let me know! ~Kelsey