
This post may contain affiliate links.
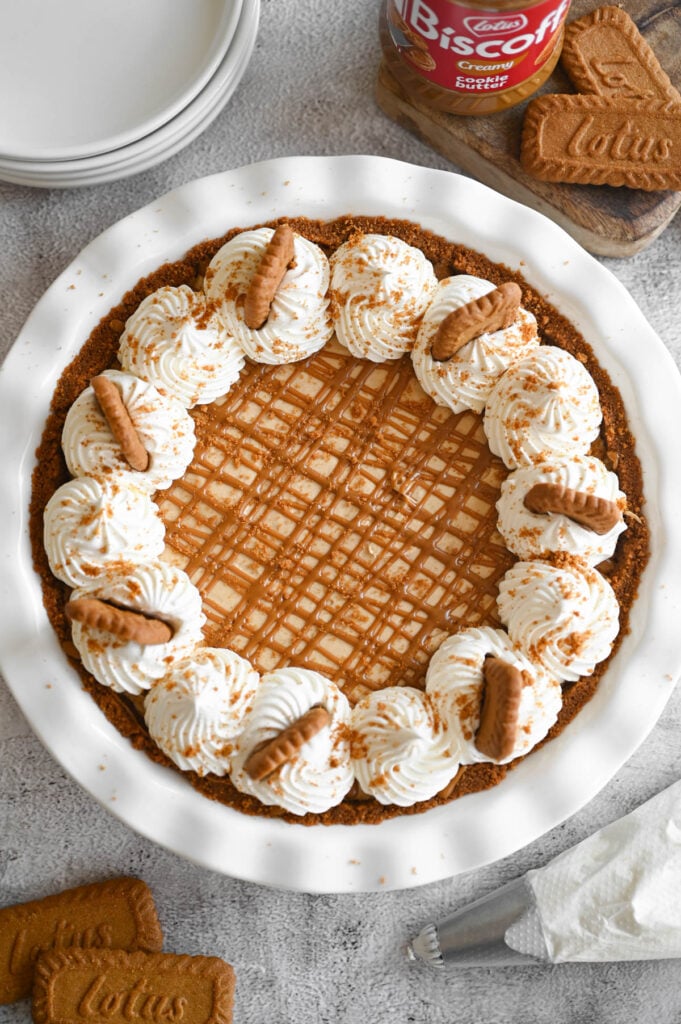
This silky-smooth Biscoff Pie is loaded with that signature caramel-spiced Biscoff flavor in every bite from crust to garnish! Best of all, it’s a no bake dessert with just 6 ingredients, so it’s done in no time!
Why You’ll Love Biscoff Pie!
- No Bake! I think we can all appreciate a delicious no bake recipe, especially in those warm summer months! This recipe is similar to my No Bake Peanut Butter Pie!
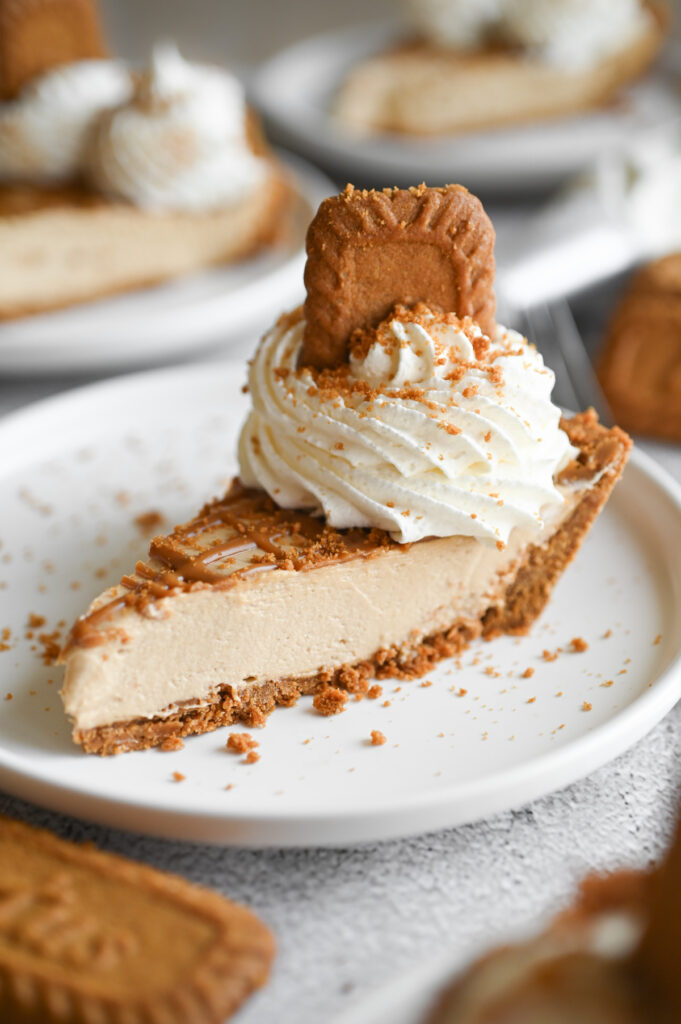
- Ultra Creamy! This pie has the most dreamy, silky texture that pairs so perfectly with the Biscoff cookie crust!
- Big Biscoff Flavor! When you have cookie butter in the filling and the crust made of Biscoff cookies, you know there’s going to be lots of flavor in every single bite!
- Make-Ahead Friendly. This pie does take some time to chill, making it perfect for prepping a day in advance!
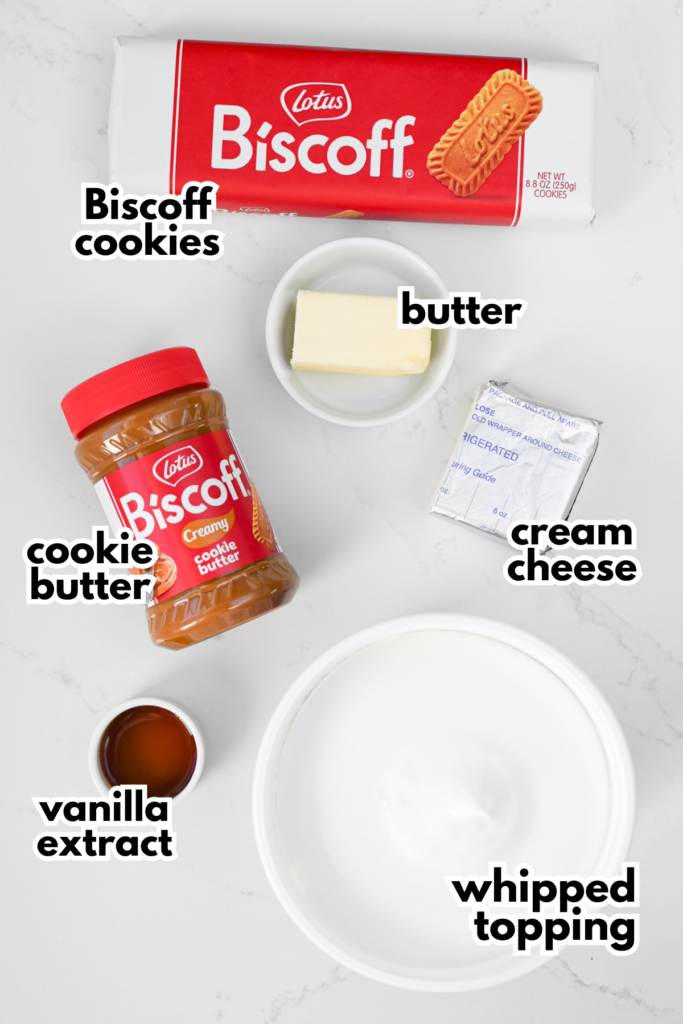
Ingredients Needed
- Biscoff Cookies – These are typically found in the grocery store in the crackers/cookies aisle. They’re in an 8.8 ounce red and white package.
- Butter – I use salted butter, but unsalted butter works great, too.
- Cookie Butter – I always use Biscoff cookie butter because I know and love the brand, but other brands may work too.
- Vanilla – Real vanilla extract or imitation vanilla is just fine!
- Cream Cheese – Use a full-fat block of cream cheese for the best texture.
- Whipped Topping – ie. Cool Whip; be sure it’s thawed before adding to the filling mixture.
How to Make Biscoff Pie
Make the Biscoff Cookie Crust
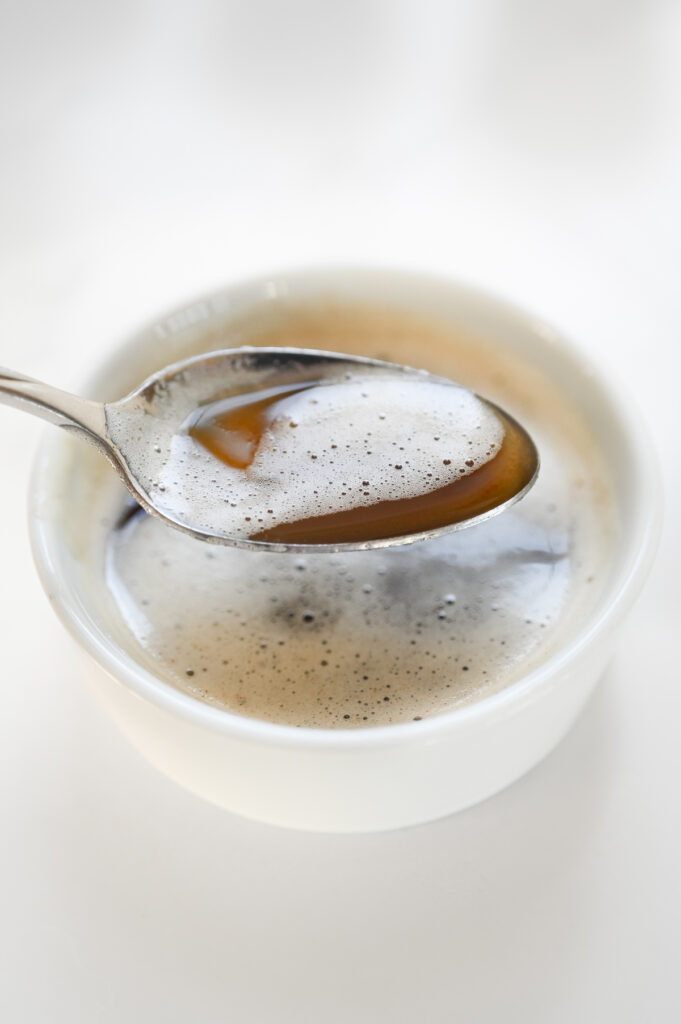
To make the crust, you can use melted butter or browned butter. Browned butter adds an extra depth of flavor – a rich nuttiness that pairs so well with the cookies!
Making browned butter is super simple, but you do need to watch it closely or it’ll burn. Simply add the butter to a saucepan over medium heat. I recommend using a light colored skillet or saucepan so it’s easy to see the color change.
The butter will melt then foam up a bit. After a few minutes, stirring occasionally, you’ll notice that the butter will begin to change a golden brown. Once you notice that, remove the saucepan from the heat and pour the butter into a small dish so it doesn’t continue to cook.
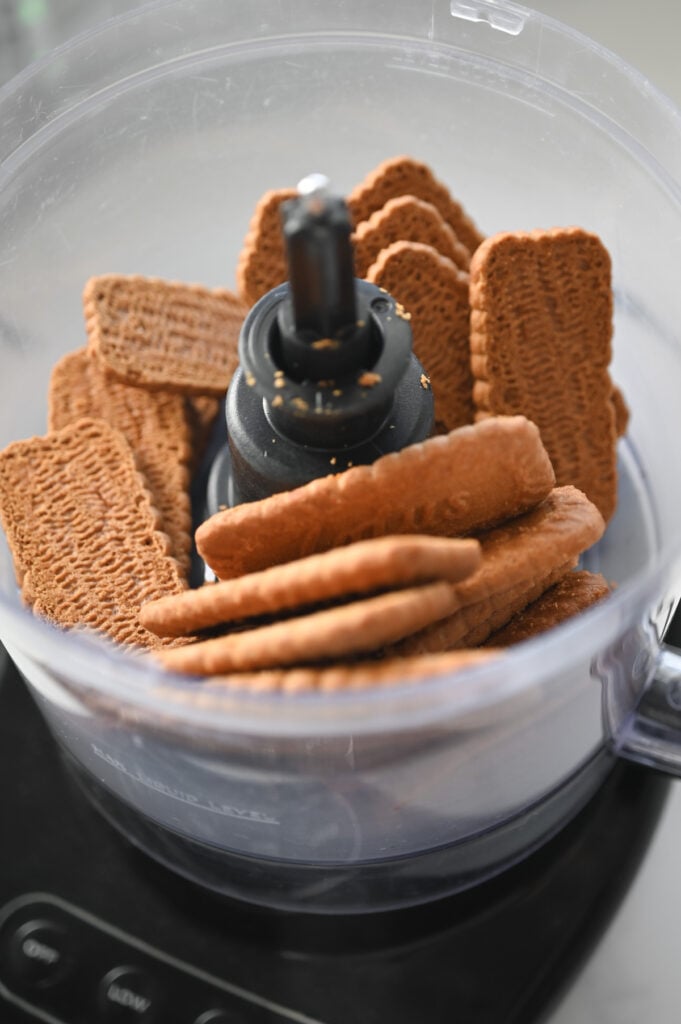
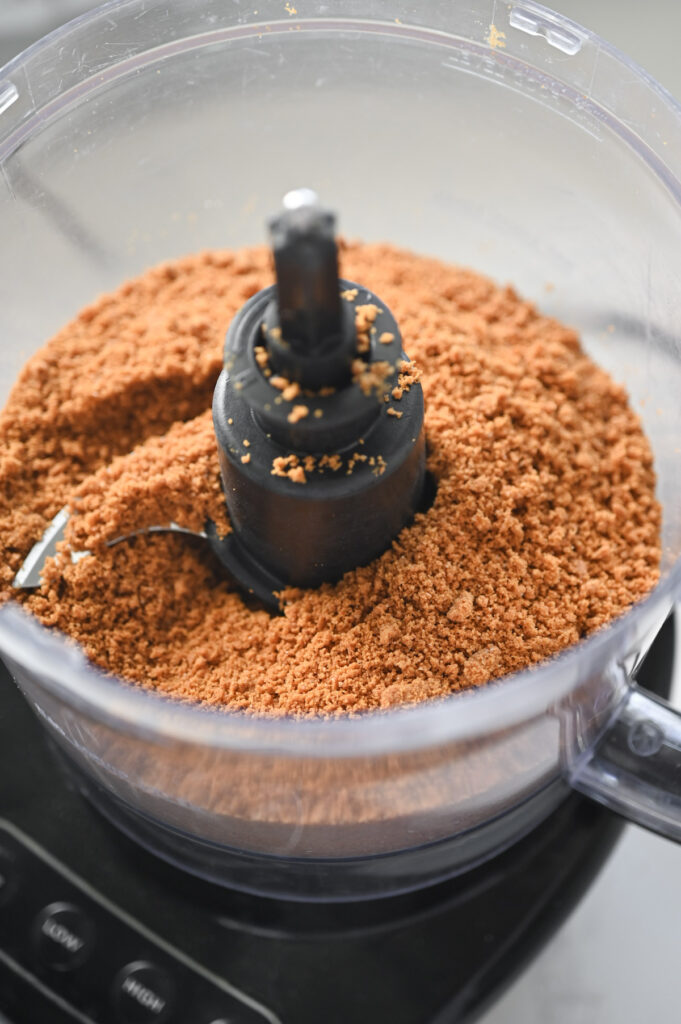
Once the butter is ready, you’ll add the cookies to the bowl of a food processor and pulse until they resemble fine crumbs. If you don’t have a food processor, you can use a resealable baggie and a rolling pin to do the same thing.
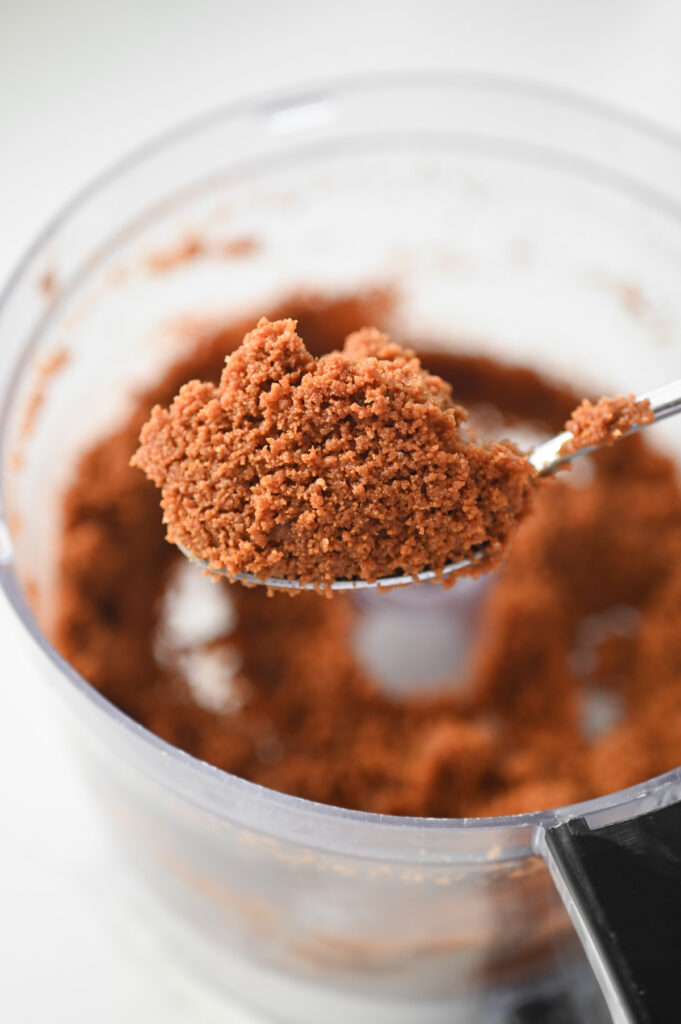
Add the butter and continue to pulse until the crumbs and butter are well-combined. It should look like a wet, sandy mixture.
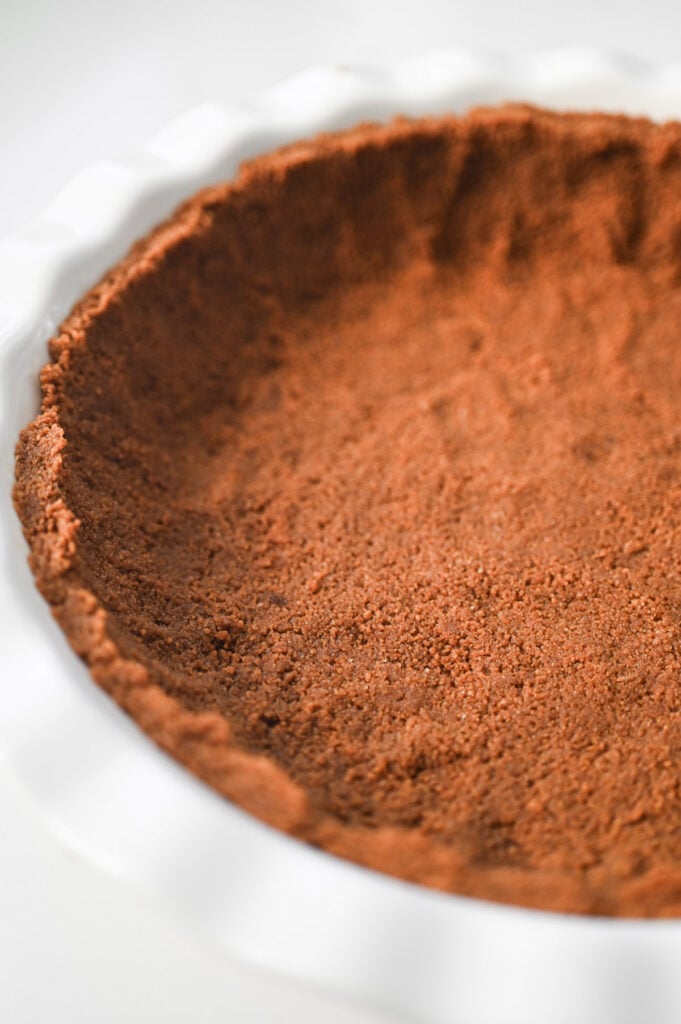
Dump the mixture into your pie plate. Press the crust into the bottom and up the sides of the pan.
Make the No Bake Filling
First, ensure that the cream cheese is softened. That’s key in making sure the filling is super smooth! Add the cream cheese and cookie butter to a mixing bowl or to the bowl of a stand mixer.
Need to Quickly Soften the Cream Cheese?
Remove the package of cream cheese from the box (keep it in the sealed foil) and place in a bowl of warm water for 15-20 minutes.
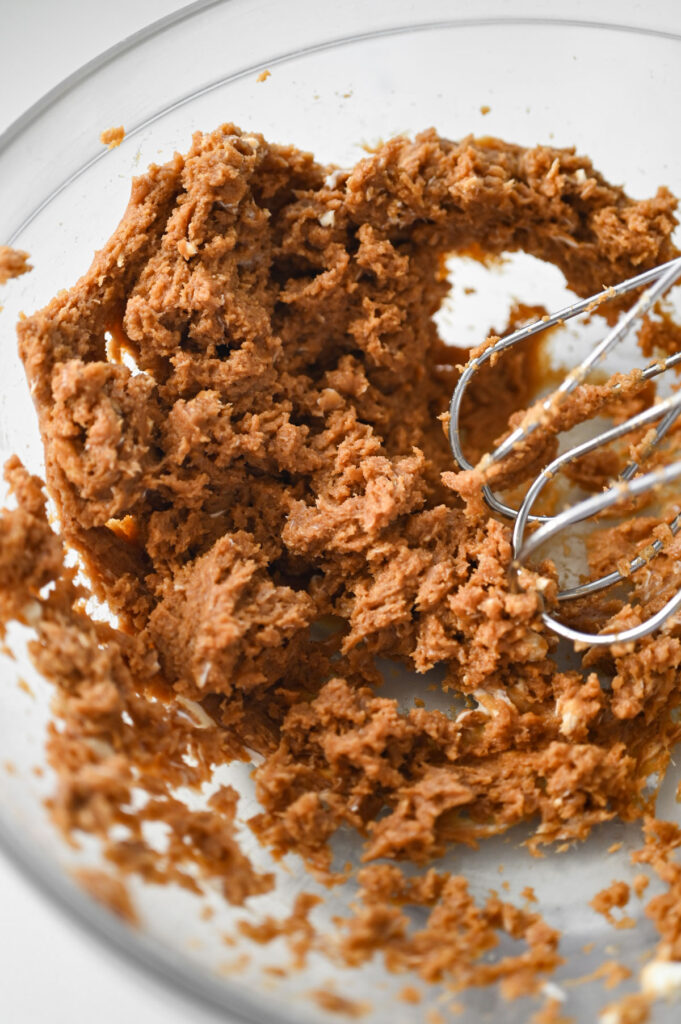
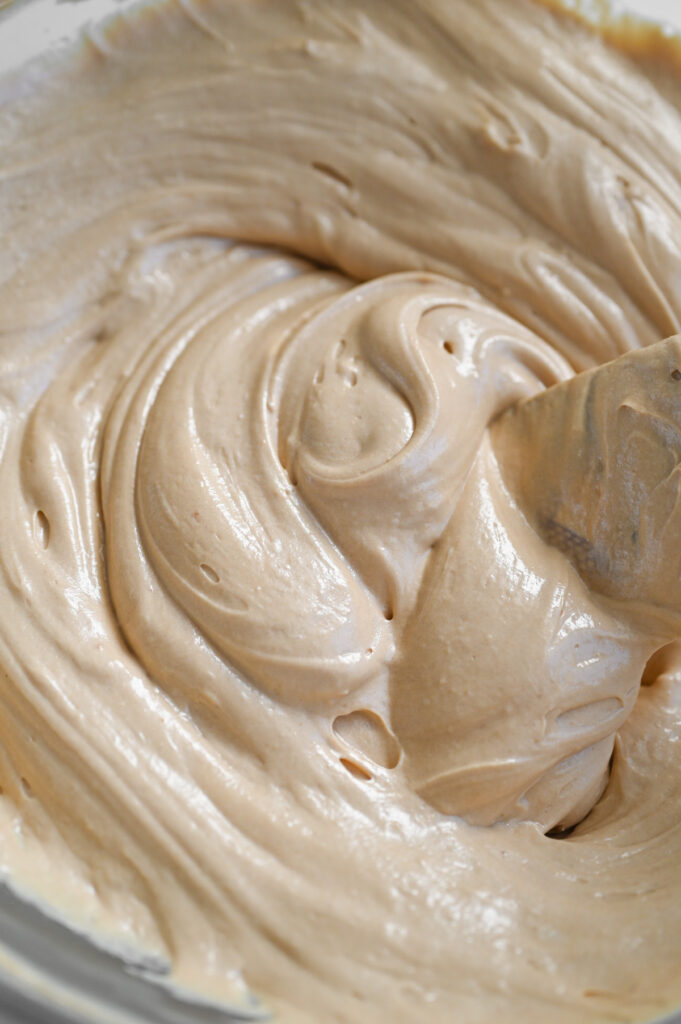
Beat until well-combined. Beat about 1/3 of the whipped topping into the mixture, making sure to scrape down the sides of the bowl so everything is well-incorporated.
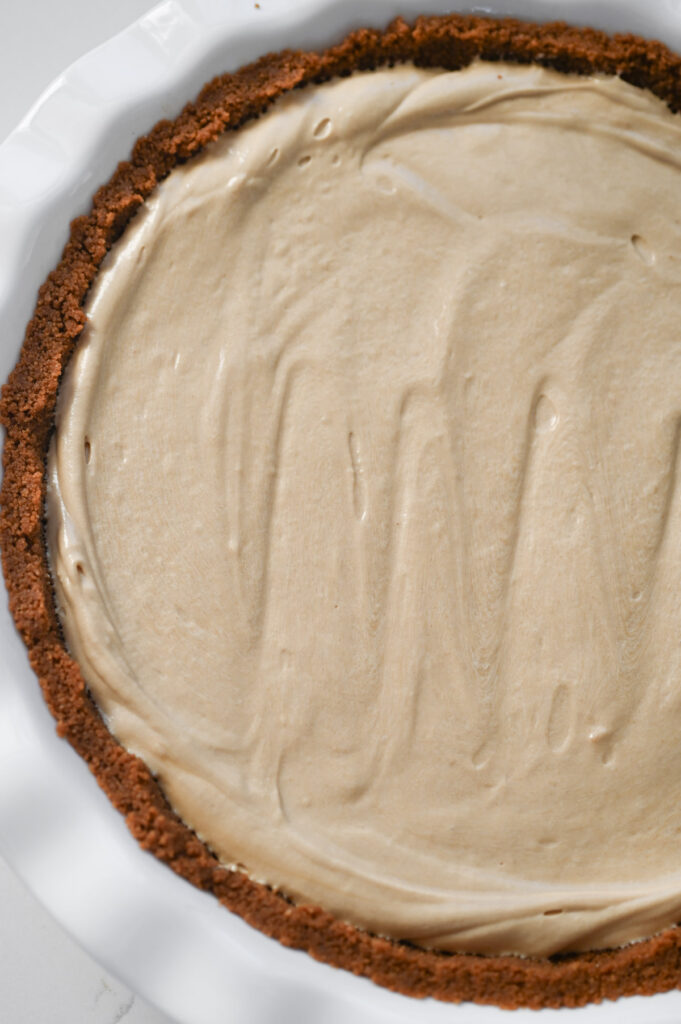
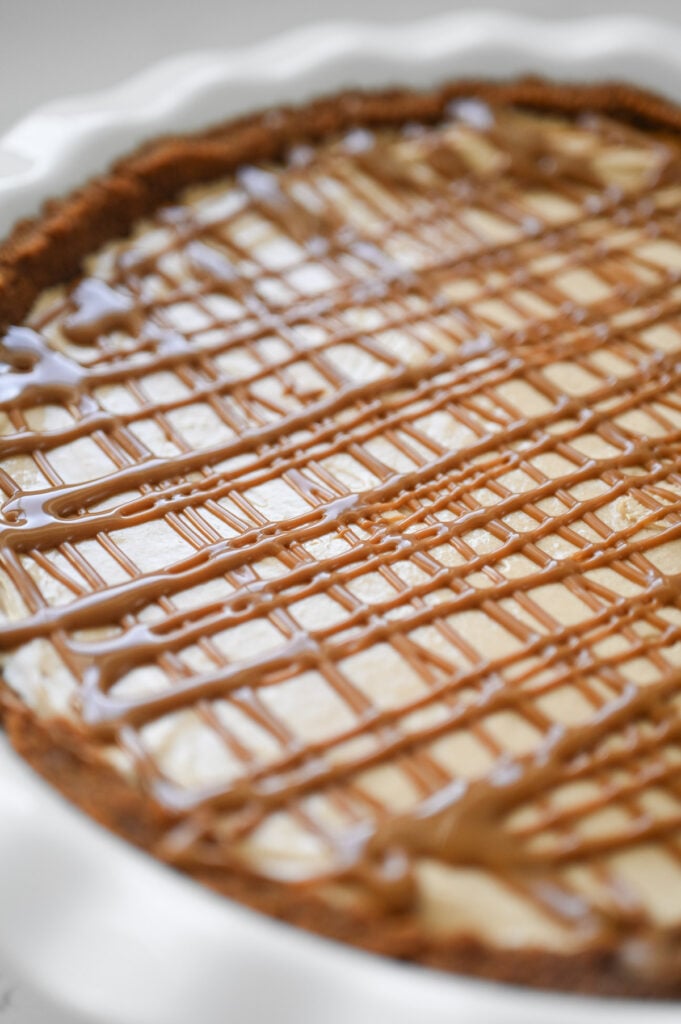
Then add the remaining whipped topping and fold it into the cream cheese Biscoff mixture. Spoon the filling into the prepared pie crust and spread to an even layer. Cover the pie with plastic wrap and refrigerate for at least 8 hours to set up! As tempting as it is to skip this step and dive in, it’s key to making a beautifully sliceable pie!
Garnish the Pie
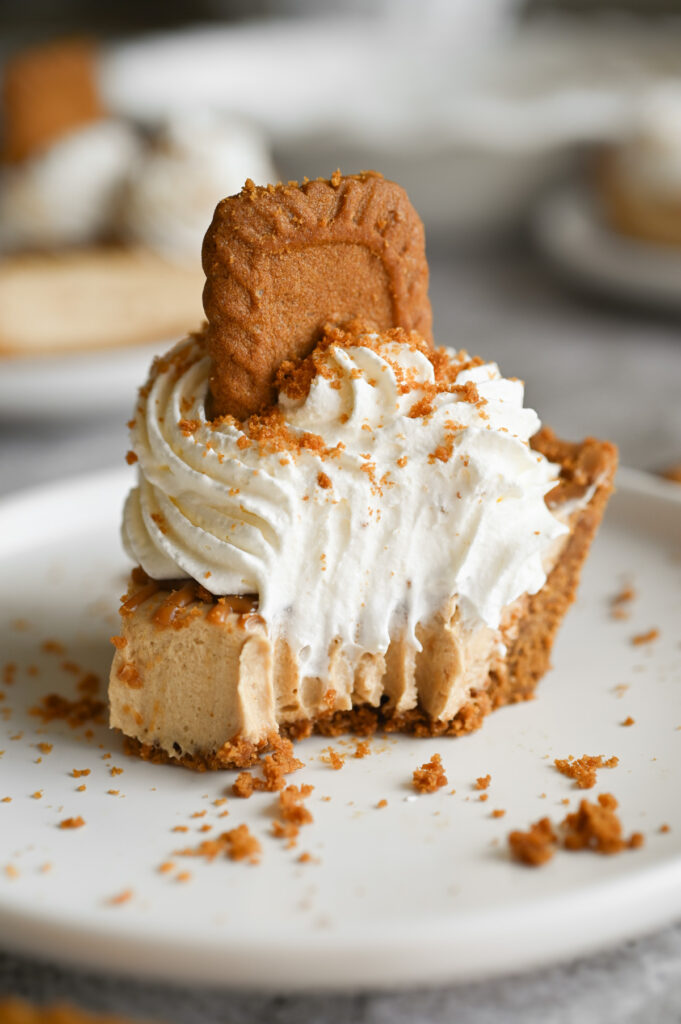
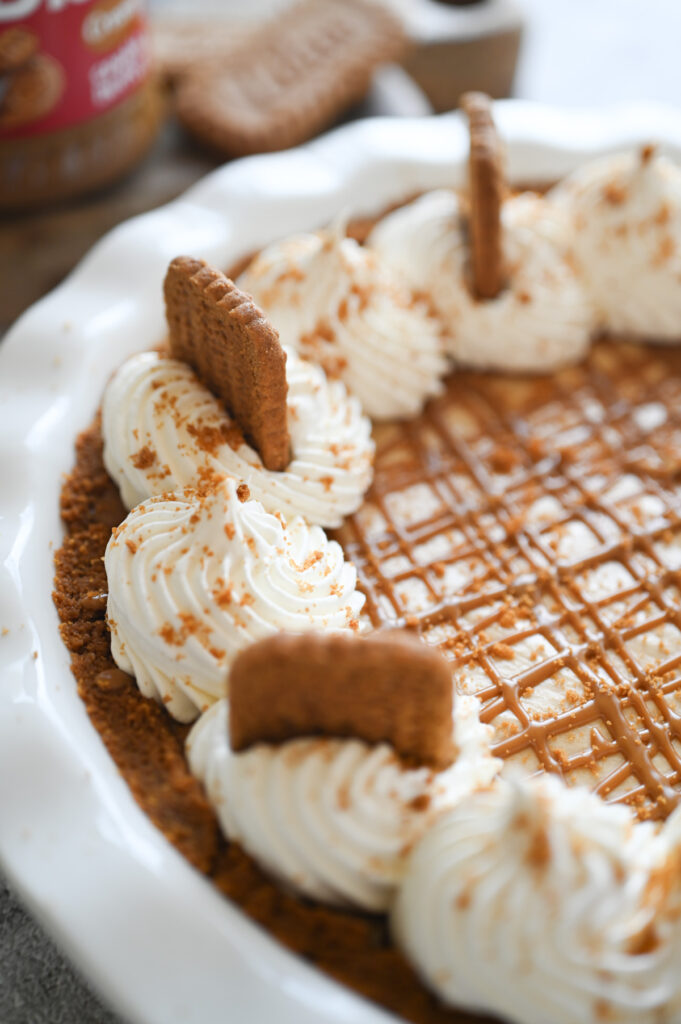
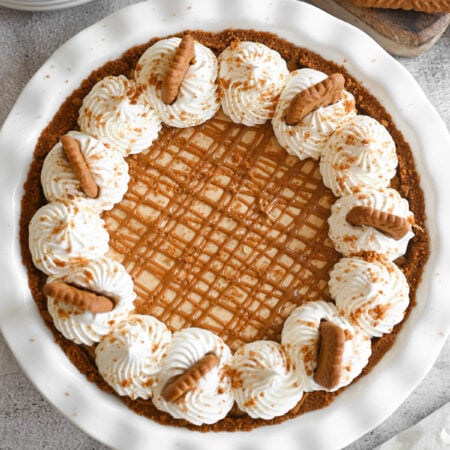
You can choose to garnish the pie….or enjoy it as is! I like to melt about 2 tablespoons of the cookie butter then drizzle it over the pie. Then, I add dollops of the whipped cream around the edge of the pie and top with a few Biscoff cookies! It’s such a stunning pie!!
Storage Instructions
- Store the pie in a covered pan in the fridge for up to 4 days.
- Freeze the pie (prior to garnishing) for up to 2 months; thaw in the fridge before serving.
Make a Lighter Version!
Feel free to use a 1/3 less fat (neufchâtel) cream cheese and sugar free or light whipped topping in place of the full-fat versions.

Other Biscoff Recipes You’ll Love!
- White Chocolate Biscoff Cookies
- Biscoff Cake
- Biscoff Truffles
- Biscoff Icebox Cake – another no-bake favorite!
If you make this Biscoff Pie, I’d love to hear what you think!!! Leave a star rating and review below – your feedback helps others find and fall in love with the recipe, too!
Biscoff Pie
Equipment
- 1 9-inch pie plate
Ingredients
Biscoff Cookie Crust
- 1/4 cup butter
- 20 Biscoff cookies plus more for garnish, if desired
Biscoff Pie Filling
- 3/4 cup Biscoff cookie butter
- 4 ounces cream cheese softened
- 1 teaspoon vanilla extract
- 1 8-ounce tub whipped topping thawed
Instructions
Make the Biscoff Cookie Crust
- Start off by browning the butter. This step is optional – you can simply melt the butter if you prefer!
- To brown the butter, add the butter to a small saucepan over medium heat. Let it simmer, stirring occasionally, until it turns golden brown and smells nutty. This will take 4-6 minutes. Remove it right away from the heat once you start seeing that golden brown color and pour it into a glass to stop the cooking process; set aside.
- Add the 20 cookies to the bowl of a food processor; pulse until they break down into fine crumbs.
- Add the warm browned butter and process until it's well-combined, scraping down the sides of the bowl, if needed. The mixture should be even and sandy.
- Dump the mixture into the pie plate and press it into the bottom and up the sides of the pie plate; set aside.
Make the Biscoff Filling
- Add the cookie butter and softened cream cheese to the bowl of a stand mixer (or a large bowl with a hand mixer). Beat until smooth.
- Stir in the vanilla.
- Add about 1/3 of the whipped topping and beat until it's incorporated.
- Scrape down the sides of the bowl and fold in the remaining whipped topping.
- Pour into the prepared pie crust and spread to an even layer.
- Cover and refrigerate for at least 8 hours to set up.
- Top with additional whipped topping, melted cookie butter, and Biscoff cookies, if desired.


