
This post may contain affiliate links.
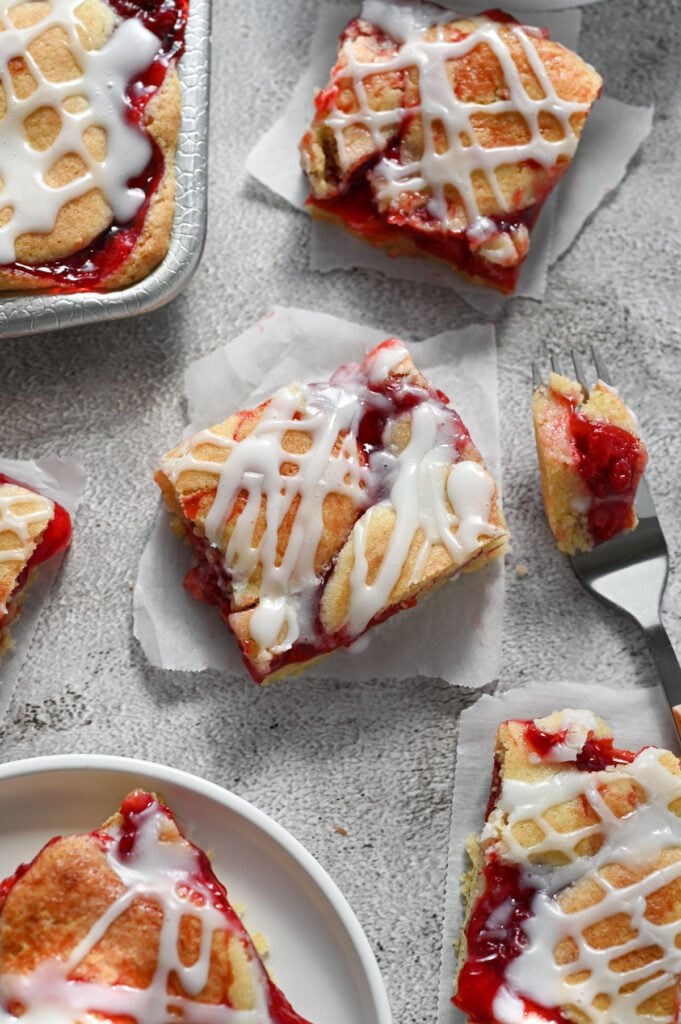
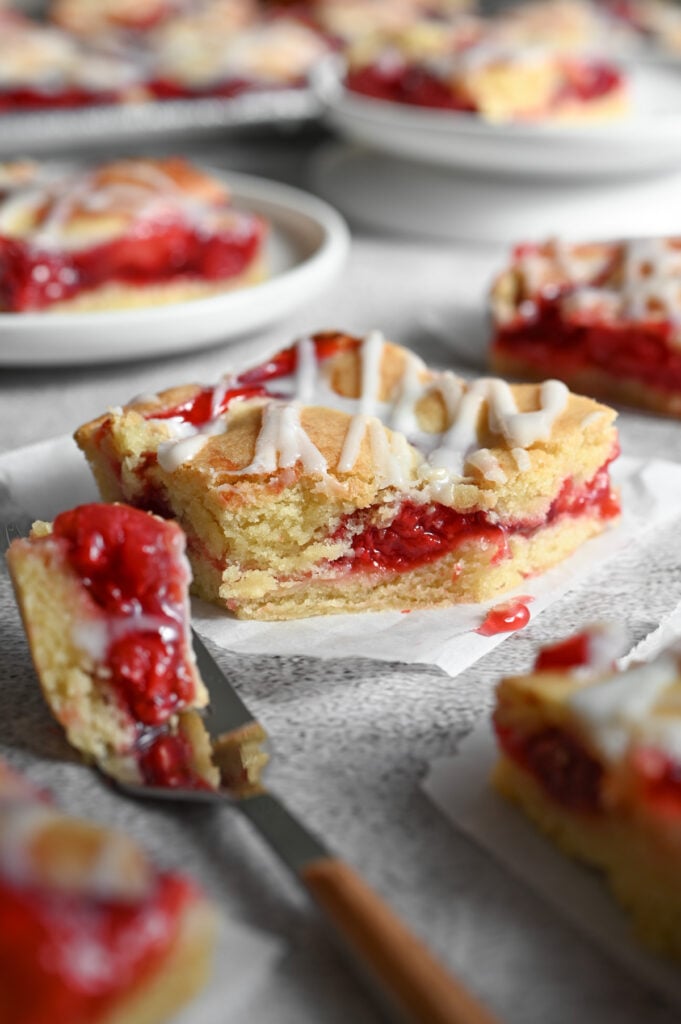
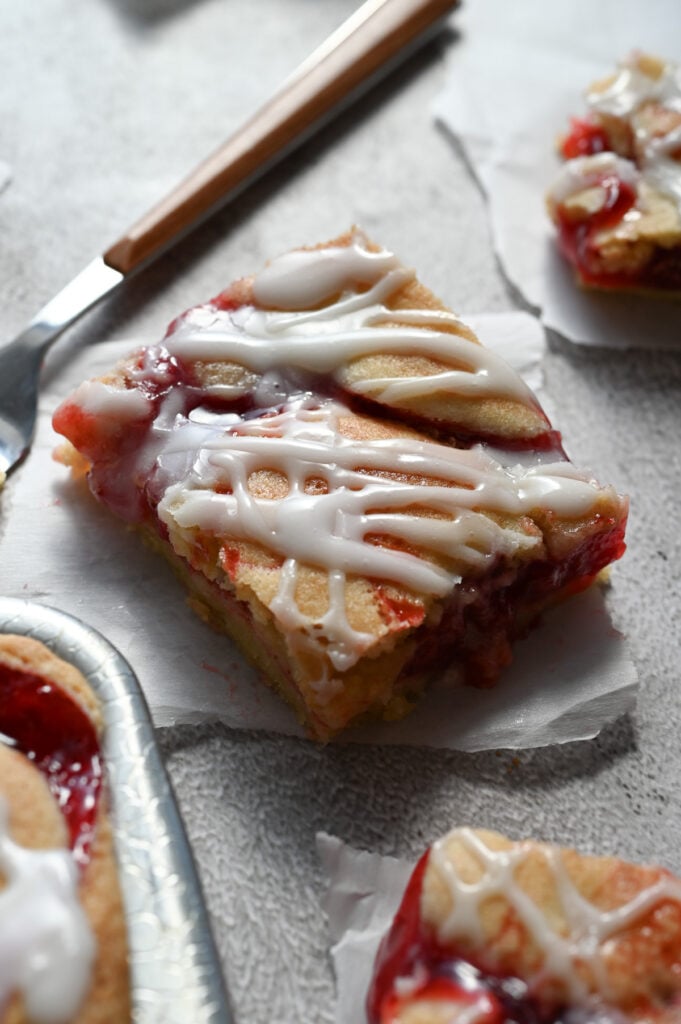
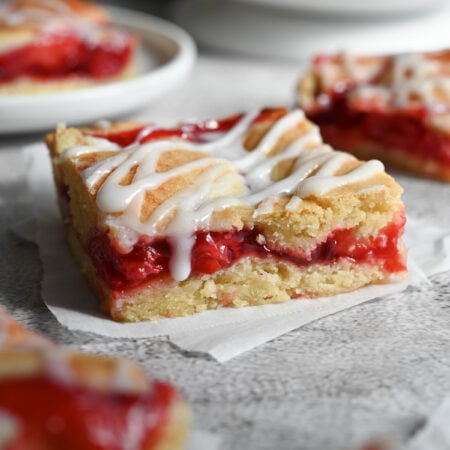
These Cherry Bars have a soft, buttery base layered with sweet cherry pie filling and more batter. They’re baked until golden and finished with a simple icing drizzled over the top for a sweet, gorgeous treat perfect for potlucks, family gatherings, and afternoon pick-me-up’s! If you love cherry pie but don’t want to fuss with crust, this one’s for you!

This easy cherry bars recipe comes from my husband’s Grandma Dolores, “Grandma D!” It’s a staple for our Sunday morning post-church family gatherings and one I always look forward to. In our family, we call these “Dean’s Delight” as a tribute to her late husband who loved these bars.
Why You’ll Love Cherry Bars
- They’re stunning! Though they’re simple to make, these bars are so pretty with the bright red cherries peaking out through the batter and icing drizzle!
- Use other fruits! You can swap the cherry pie filling out for other fillings such as blueberry or raspberry, depending on your preference.
- Feeds a crowd! This recipe makes 24 good-sized bars, making it a great recipe for a crowd!
- Can make in advance. These bars are actually easier to cut after some time in the fridge. Make the day before an event to simplify a busy day!
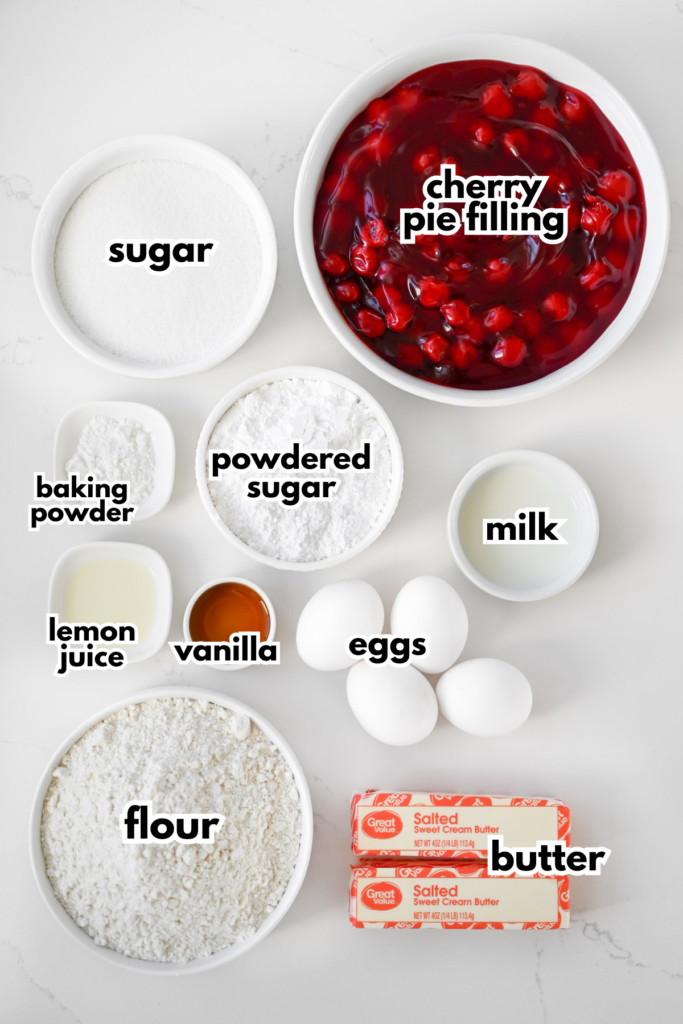
Ingredients Needed (full recipe in the printable recipe card below)
- Salted Butter – If you only have unsalted butter, see the notes in the recipe card.
- White Sugar
- Vanilla Extract – You could use 1/2 teaspoon almond extract, too, if you like that flavor.
- Egg – I always use “large” eggs when baking.
- All-Purpose Flour
- Baking Powder – Be sure that the baking powder isn’t expired or it won’t rise properly when baking.
- Pie Filling – Grandpa Dean’s favorite was cherry, so that’s what we typically make. More pie filling options below! If you prefer, you can make your own cherry pie filling instead!
- Icing Ingredients – Powdered sugar, milk, and lemon juice (optional) make up the simple icing recipe.
How to Make Cherry Bars
I always recommend preheating the oven first. You want the oven to be nice and hot when the bars go in!
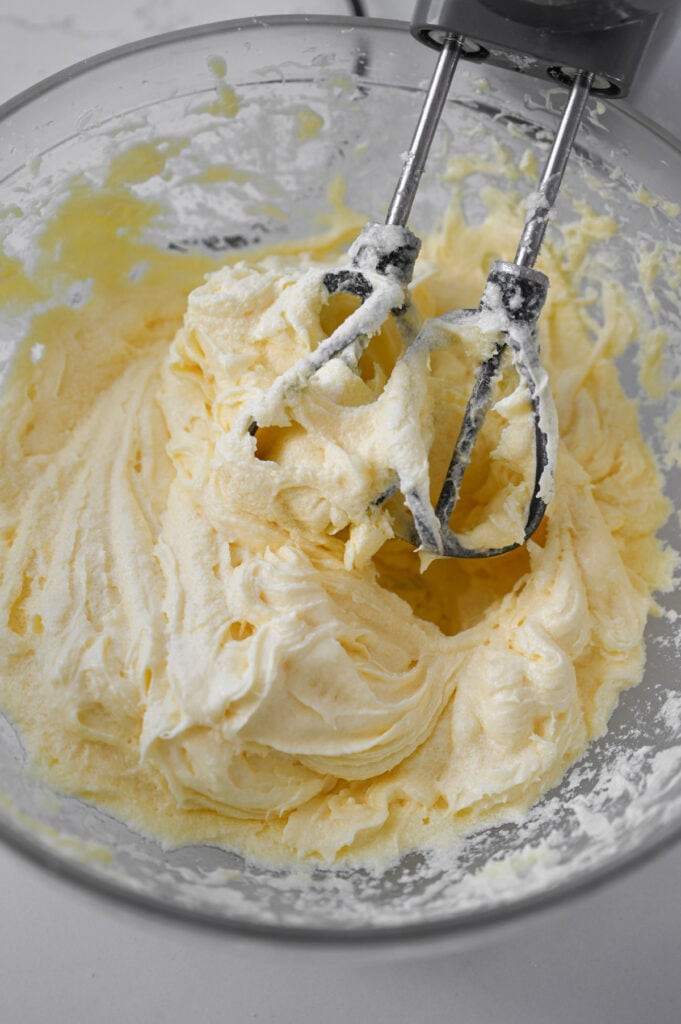
To make the batter, cream together the softened butter and sugar. Then add the vanilla and the four eggs, beating the mixture between the addition of each egg. Be sure to scrape down the sides of the bowl at least once or twice to ensure that all of the ingredients are incorporated.
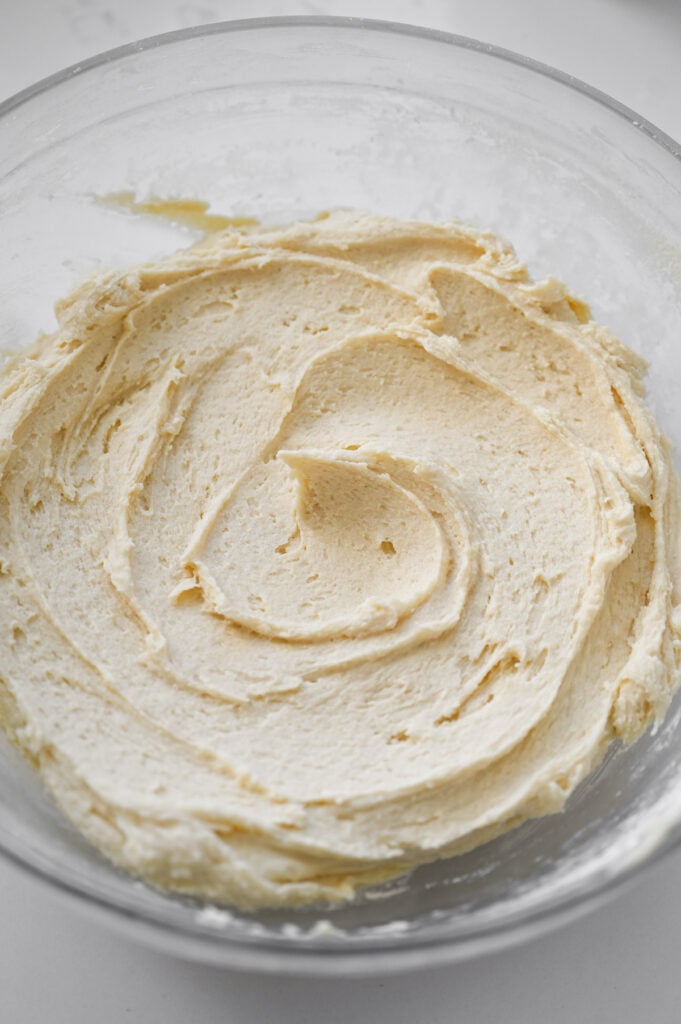
Add the dry ingredients and stir until smooth.
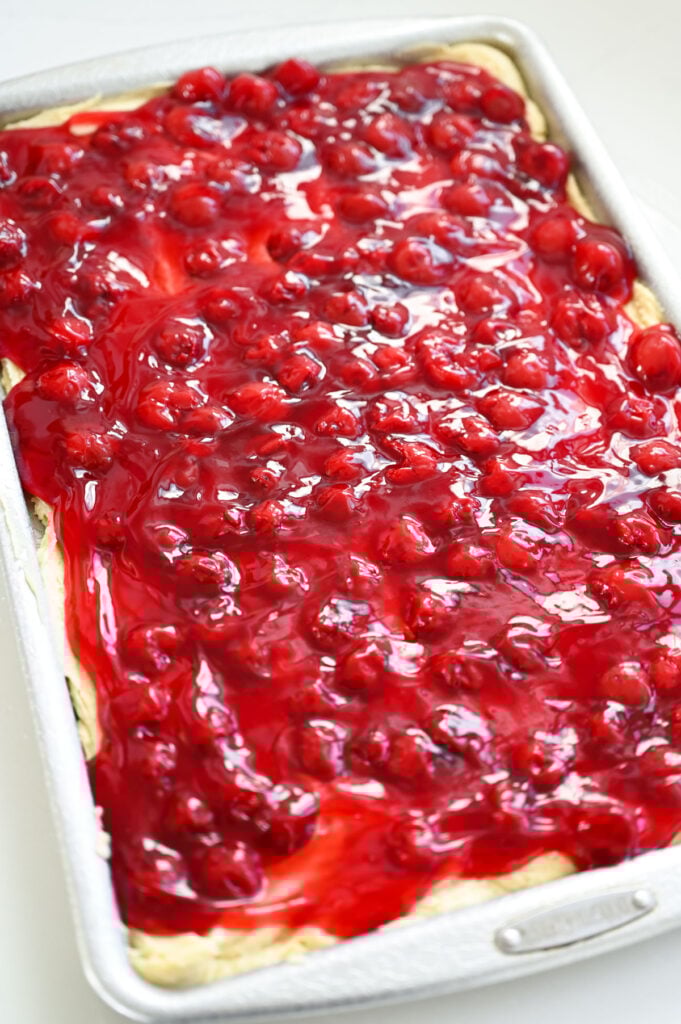
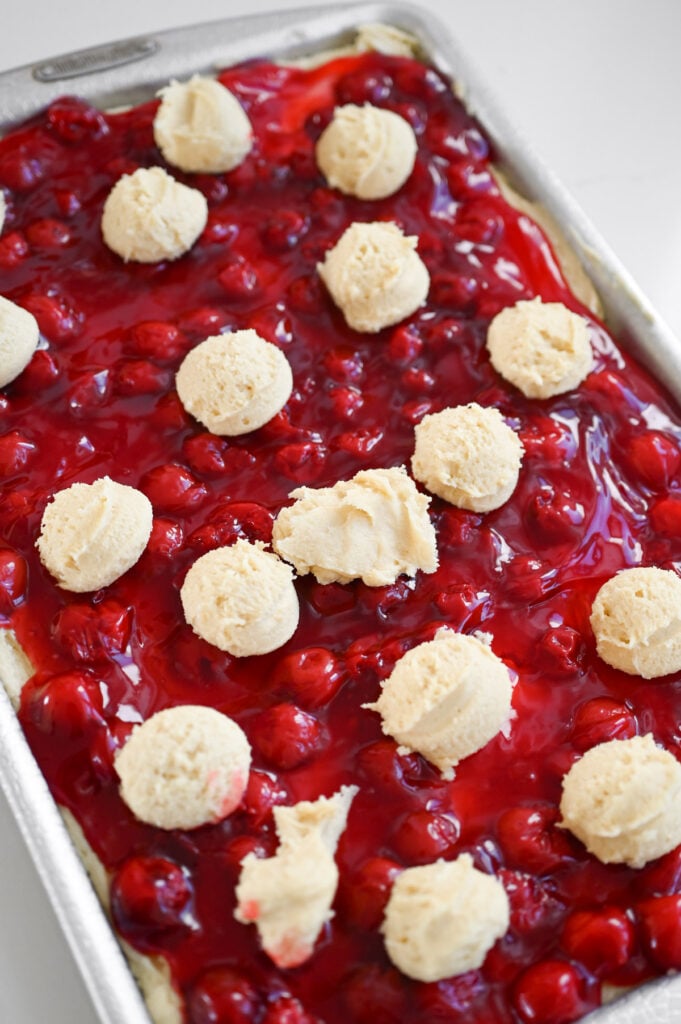
Spread about 2/3 of the batter into the bottom of a greased jellyroll pan. Then, spoon the pie filling over the batter and spread to an even layer.
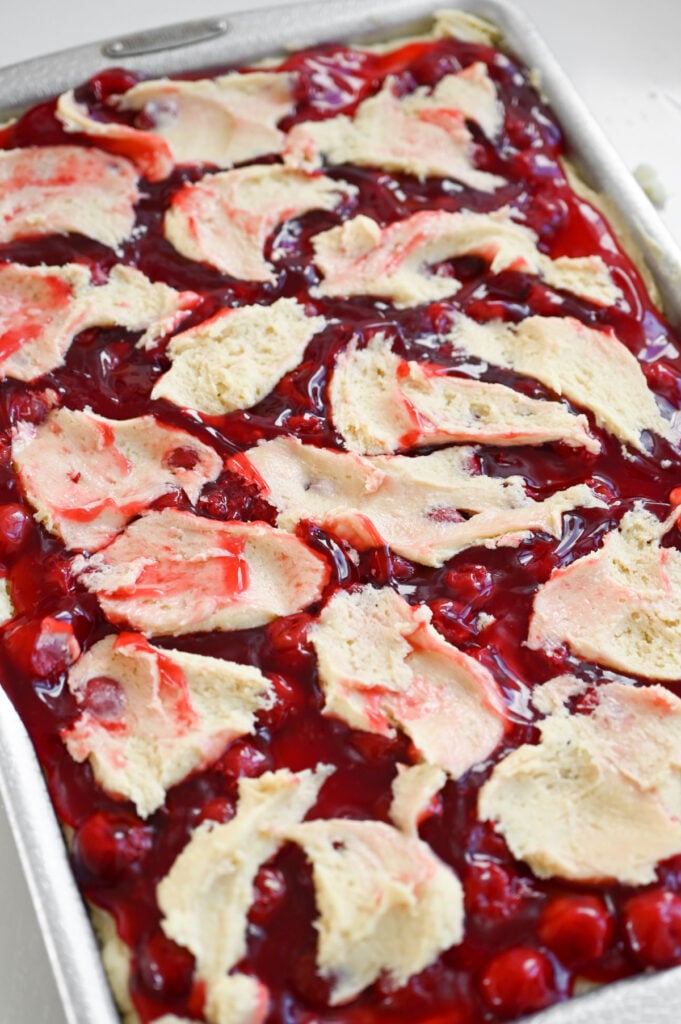
Scoop the remaining batter over the fruit filling and use a spoon or knife to gently spread it out. It will not cover all of the cherries (that’s how you want it!).
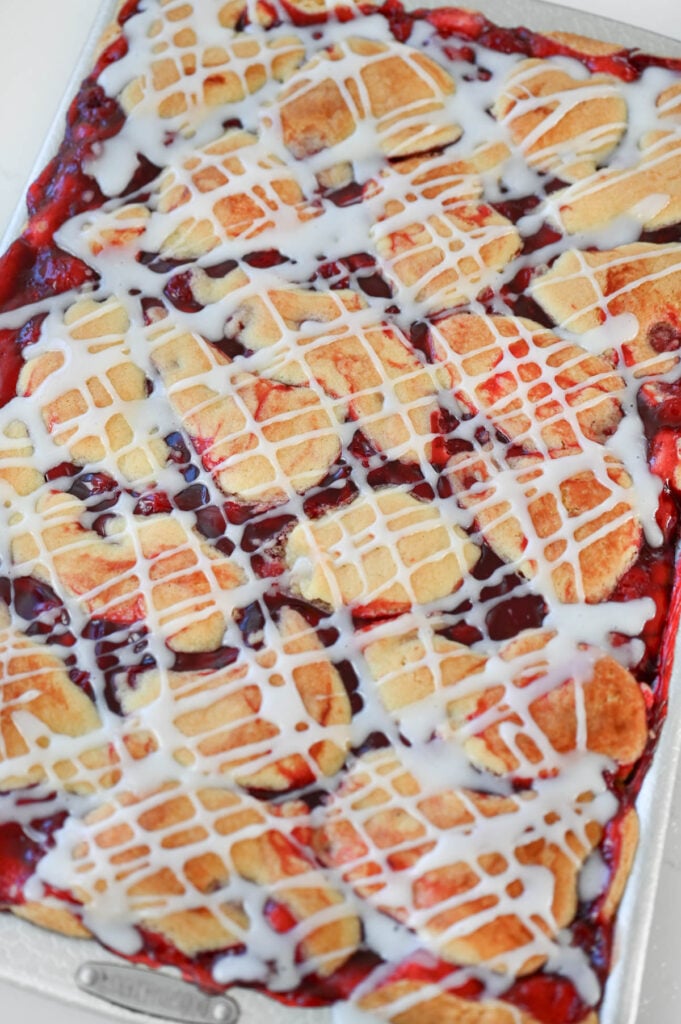
Bake the bars for 30 minutes and take a peek at them. If they aren’t golden brown on top yet, continue to bake until a toothpick pressed into some of the cake layer in the middle of the pan comes out clean.
Combine the icing ingredients and drizzle it over the bars. Let cool before slicing and digging in!
Frequently Asked Questions
Absolutely yes! As long as the filling is nice and thick, it’ll work great.
Yes!! I love that these bars can be customized based on what your preference is. Blueberry and raspberry both work great. Peach is also a great option, though I like to cut the peaches up a bit so they’re spread out better! You could even do one fruit on half of the pan and another on the other half!
You could use a 9×13 pan PLUS a 8×4 loaf pan. The cook time will be slightly shorter for the loaf pan. Pro Tip! Bring the 9×13 pan for an event & keep the small pan for yourself…ha! 🙂
Other Easy Fruit Desserts You’ll Love!!
- Raspberry Bars
- Cherry Dump Cake
- Blueberry Cream Cheese Bars
- Lemon Bars
- No Bake Cheesecake Bars
- Strawberry Poke Cake
- Pineapple Bars
Cherry Bars
Equipment
- 1 jellyroll pan (10×15 inches)
Ingredients
- 1 cup salted butter* softened
- 1 3/4 cups sugar
- 1 teaspoon vanilla
- 4 eggs
- 3 cups all-purpose flour
- 1 1/2 teaspoons baking powder
- 2 21-ounce cans cherry pie filling
Icing
- 1 cup powdered sugar
- 2 1/2 tablespoons milk
- 1 teaspoon lemon juice
Instructions
- Preheat oven to 350℉ and coat a jellyroll pan with cooking spray.
- In the bowl of a stand mixer, cream the butter and sugar.
- Add the vanilla and then the eggs, one at a time.
- Add the flour and baking powder; stir until well-combined.
- Spread about 2/3 of the batter into the bottom of the jellyroll pan.
- Spread the cherry pie filling over the batter.
- Dollop the remaining batter over the cherries.
- Bake for 30-35 minutes, or until golden brown on top.
- Combine the icing ingredients and drizzle over the bars.


Just made the cherry bars and they turned out perfect!!! Your recipes are my go to for ..crowd pleasing food!!!! Didn’t change a thing and they were ohhhhhhh soooooo loved!! ❤️Thank you!!